Installation
Connect Visma e-conomic account
Are you ready to supercharge your webshop to accounting workflow? Our simple process seamlessly connects your Stripe and e-conomic accounts, bringing powerful synchronisation to your fingertips. This integration allows you to effortlessly manage your webshop data and make invoices/orders all from within your familiar Stripe interface.
Initial Installation
Getting Started
Navigate to the Stripe App Marketplace
Search for "Cloudify e-conomic Integration"
Click "Install app"

Complete the authorization process for Stripe
Connect your e-conomic account when prompted
Connecting e-conomic
Click "Connect e-conomic"

Log in to your e-conomic account by clicking "OK"

On the Visma e-conomic login page, enter your email address and click on "Next"

Enter the password and click on "Sign In"
Authorize the integration by clicking on "Add app"

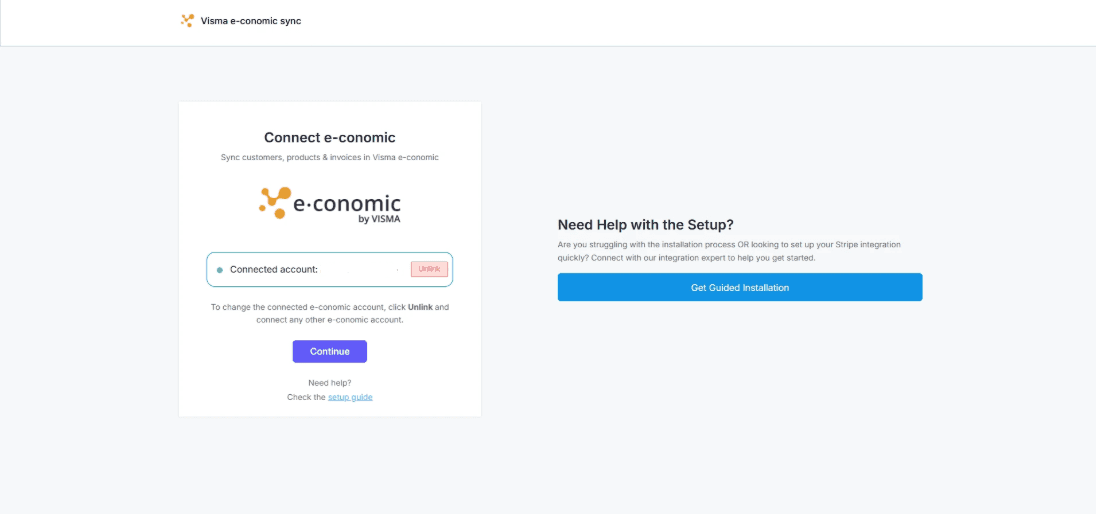
Verify the connection status shows "Connected". Press "Continue" to proceed.
Got unique integration needs?
Our custom team can build tailored integrations, specialized data mappings, and workflow automations to perfectly match your specific business processes.