Need help? Contact Support
Setting up the Shopify to Visma e-conomic Integration
Now that you've installed the app and connected your accounts, it's time to configure how information flows between Shopify and Visma e-conomic. With this guide, you will be able to customise your app further if needed.
To find the settings page:
Click the “Settings” on the left-hand side.
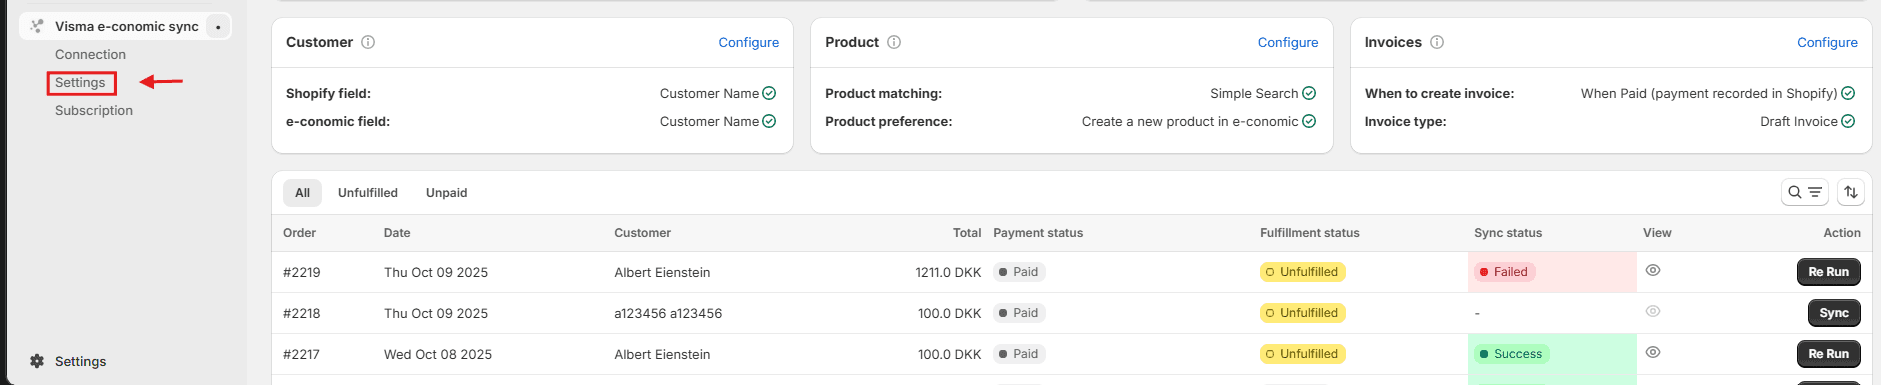
And you have arrived.

The setup process is divided into four main areas:
Customer Setting
Product Settings
Invoice Settings
Journal Entries
Each of these areas plays a crucial role in determining how your data is synchronized and how your business processes are automated.