Installation
Configuration
Advanced Features
Getting started
Setting up the HubSpot to e-conomic Integration
Now that you've installed the app and connected your accounts, it's time to configure how information flows between HubSpot and e-conomic. The quick install already covered the essential settings. With this guide you will be able to further customize your app, if needed.
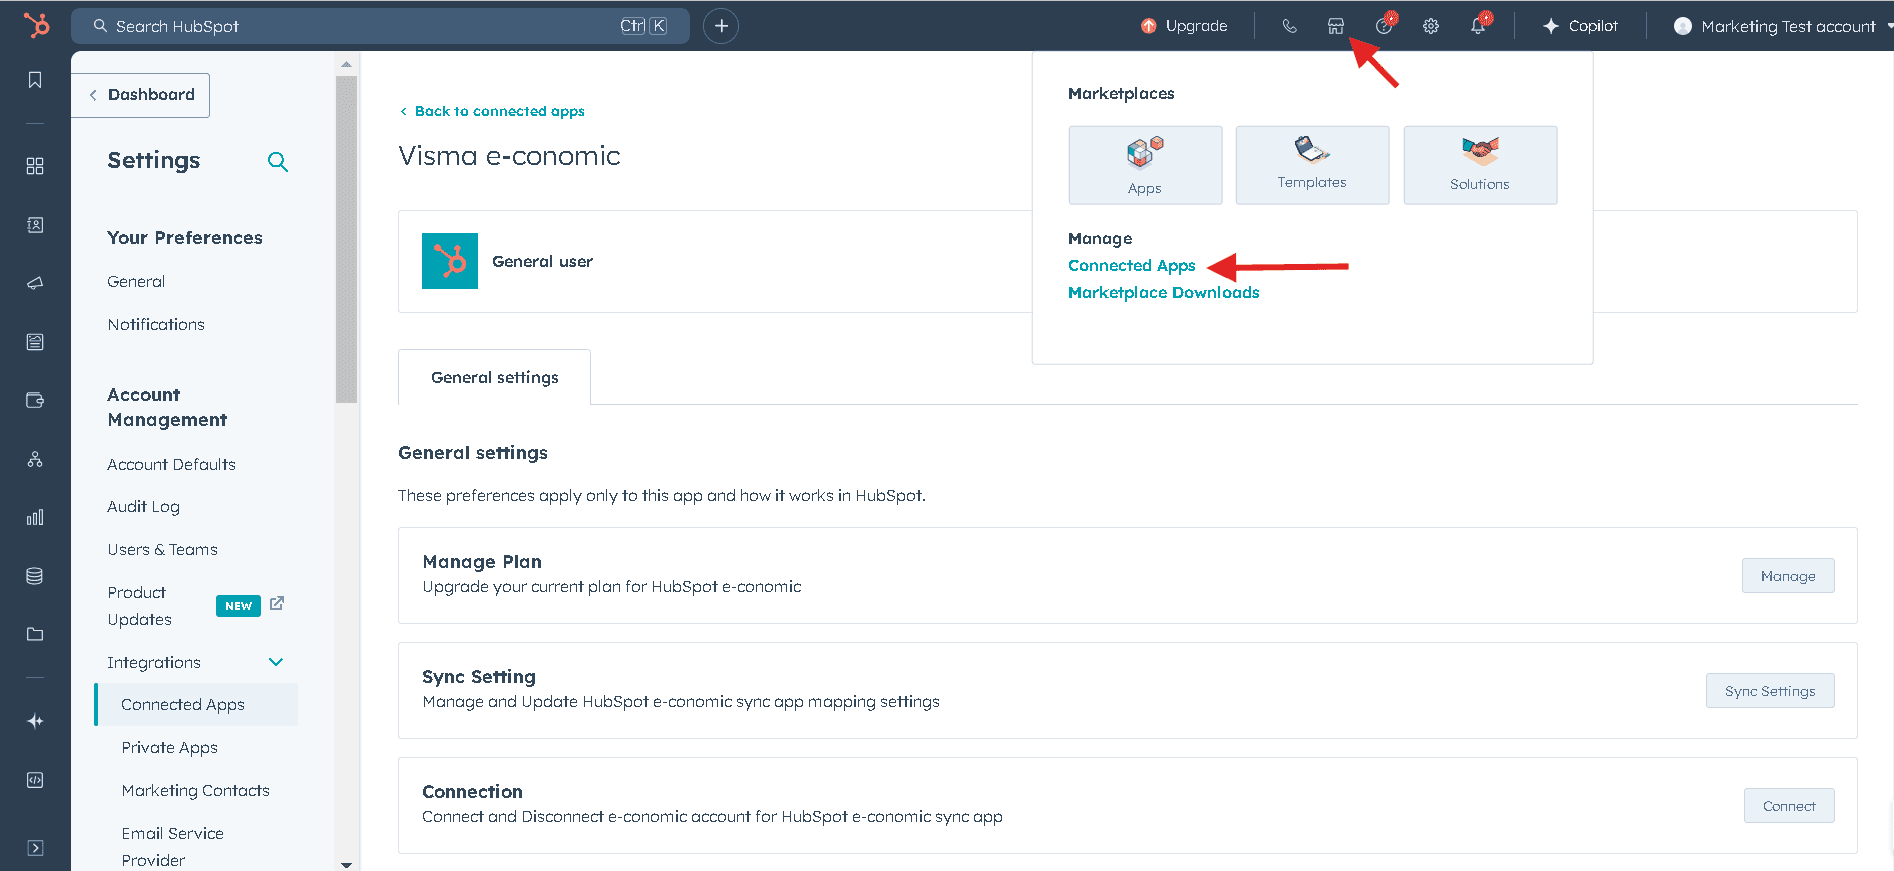
To find the settings page:
Find the Marketplace icon (top of the page) -> Click on "Connected apps"
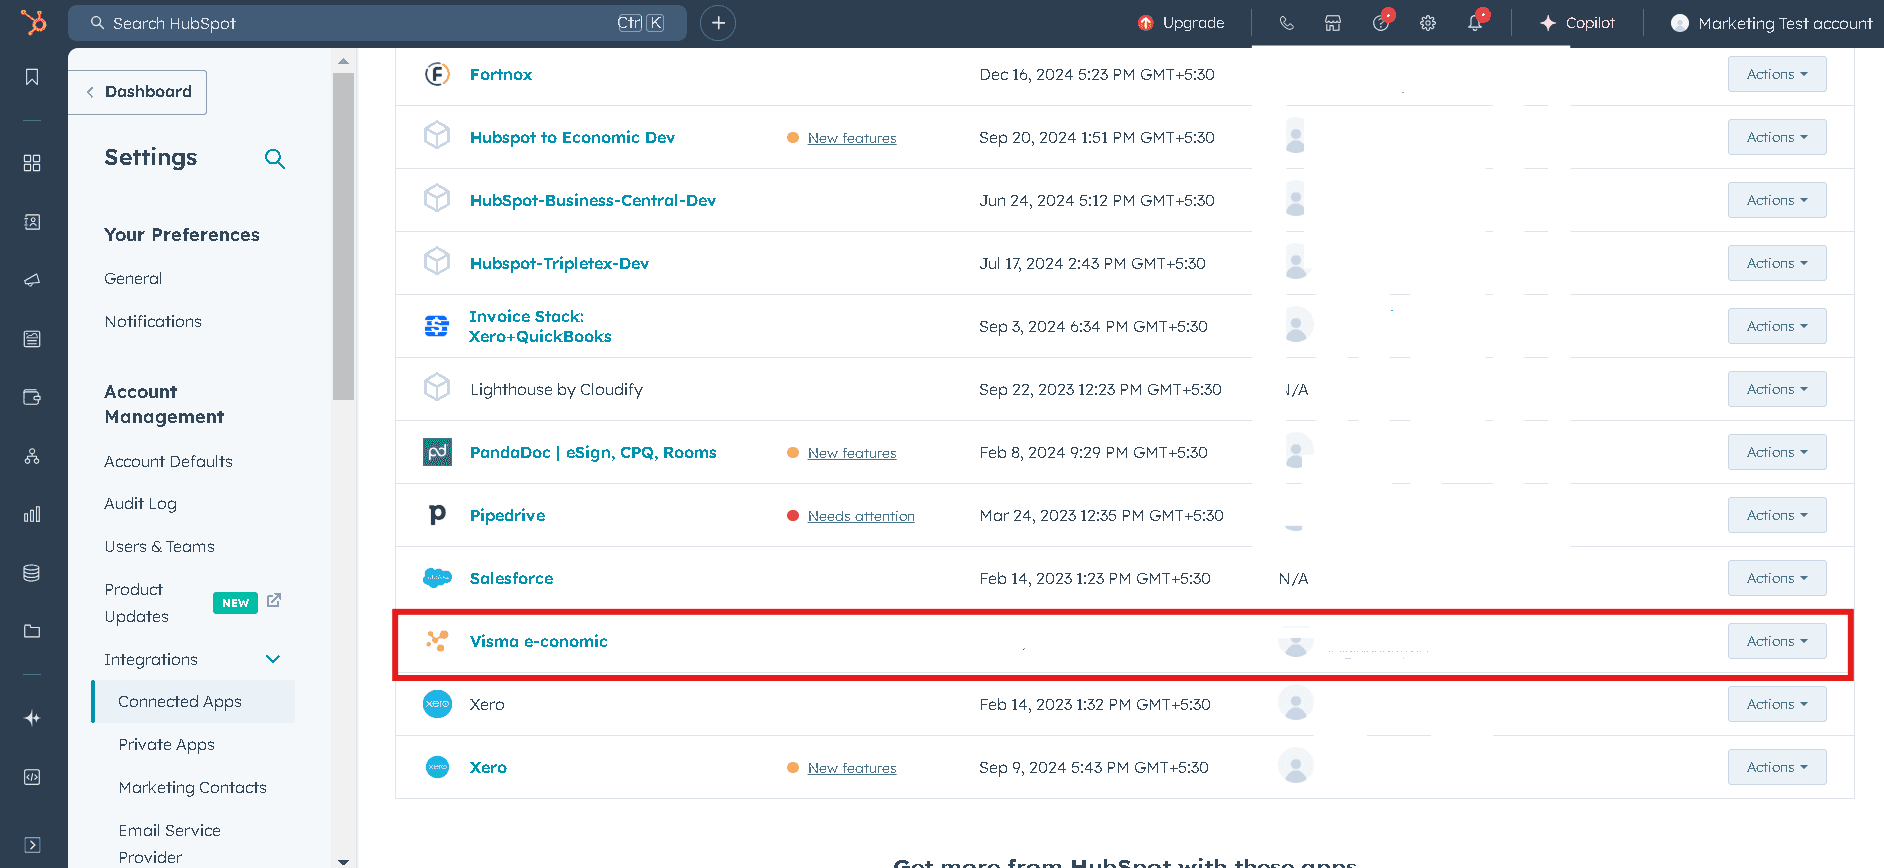
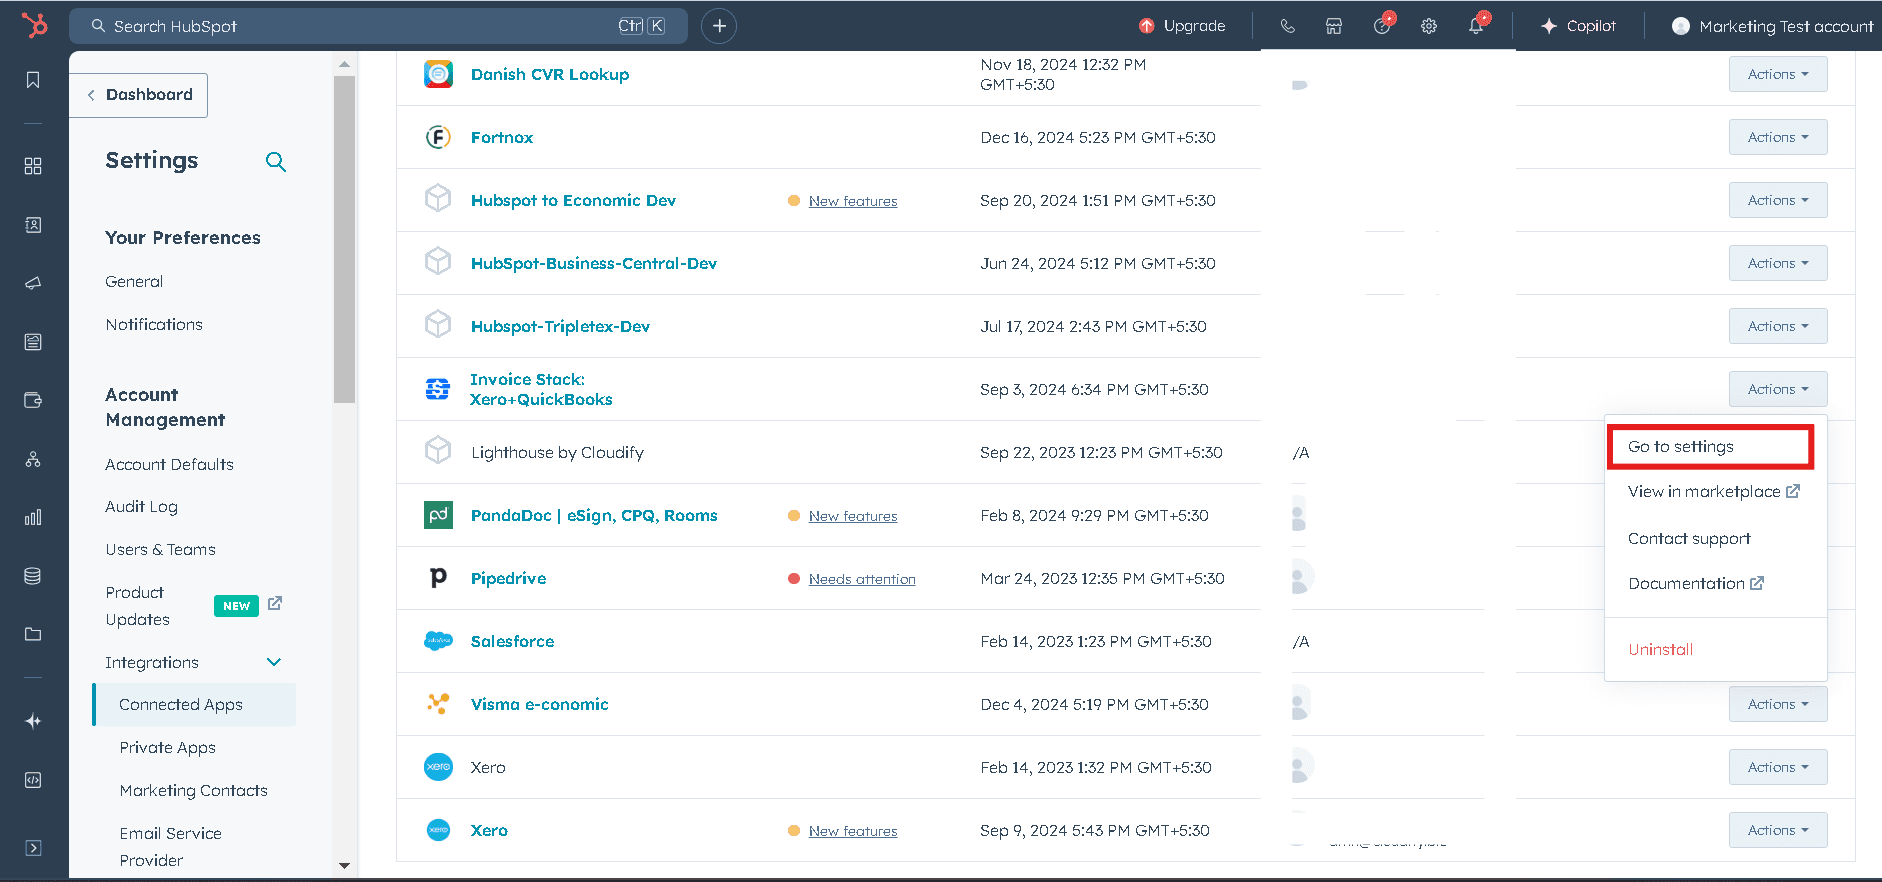
Click on the e-conomic app . Click "Action"
Select "Go to settings"
Click on "Sync settings"
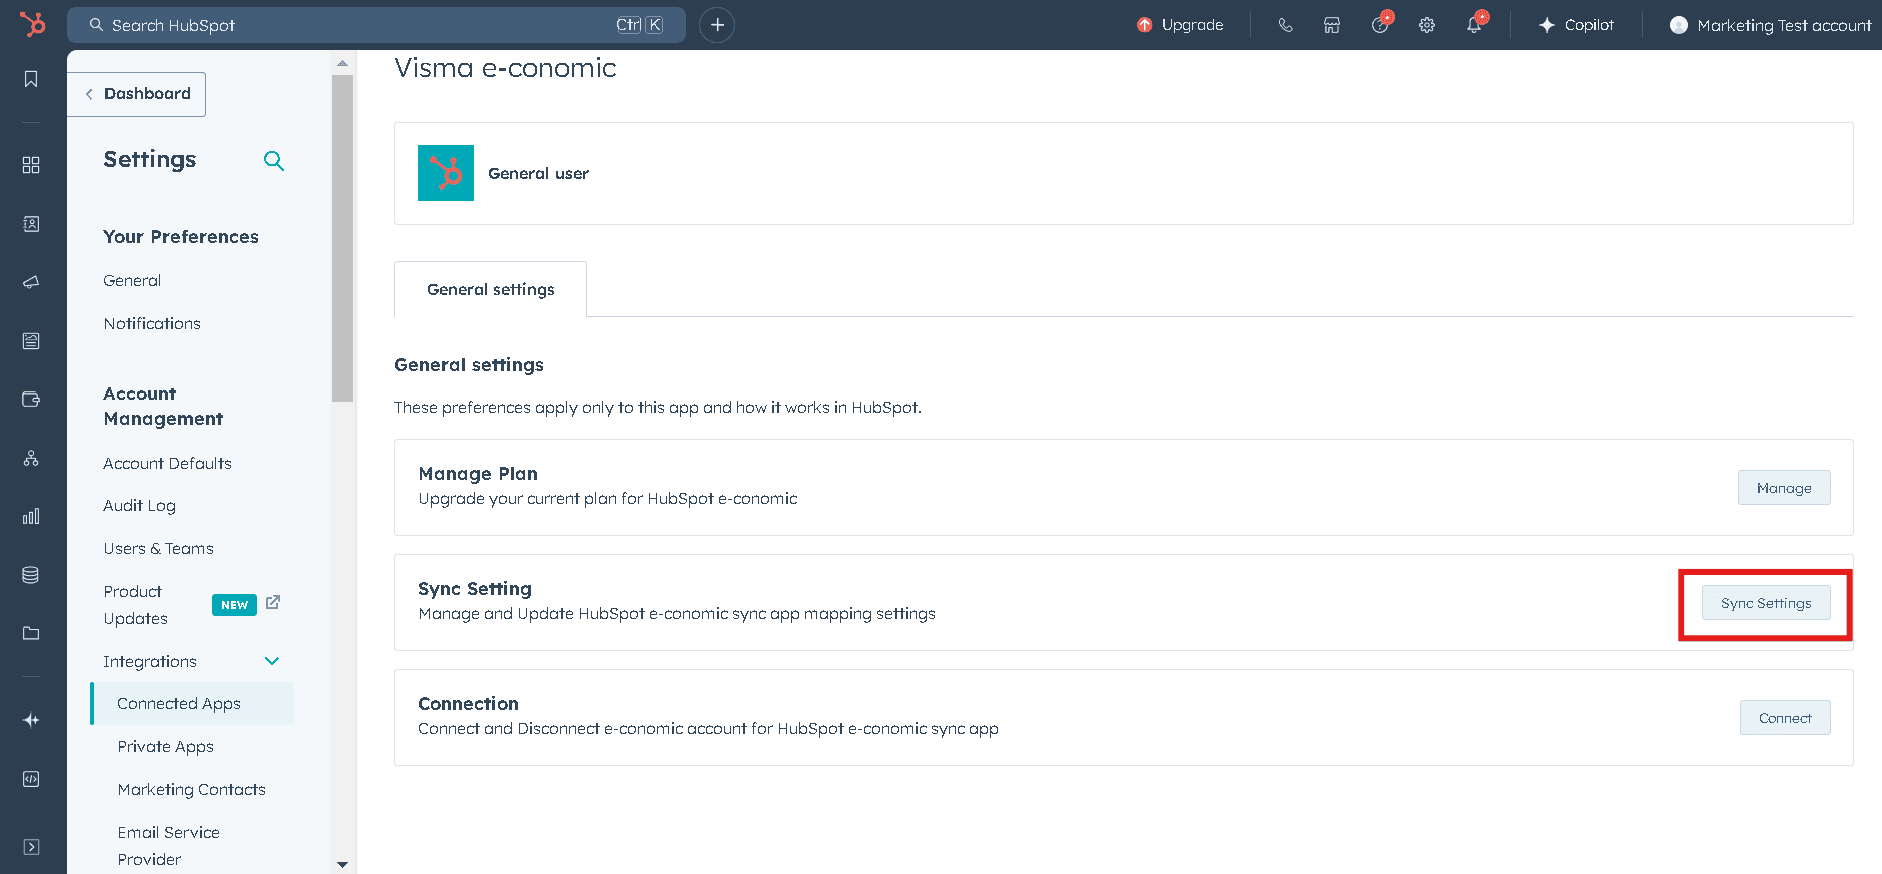
And you have arrived
The setup process is divided into three main areas:
1. Customer Settings
2. Product Settings
3. Invoice/Order Settings
Each of these areas plays a crucial role in determining how your data is synchronized and how your business processes are automated. Let's start by looking at the Customer Settings.
Got unique integration needs?
Our custom team can build tailored integrations, specialized data mappings, and workflow automations to perfectly match your specific business processes.