Installation
Advanced Features
Getting started with FlowLink actions
FlowLink Action Setup
Creating a FlowLink Action
Log into your HubSpot account
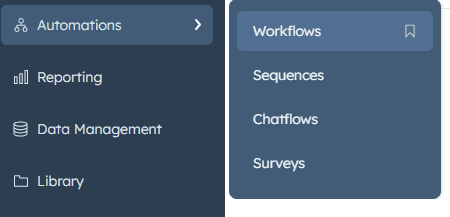
Navigate to Automation > Workflows
Create a new workflow (or edit an existing one)
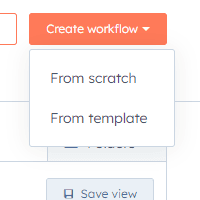
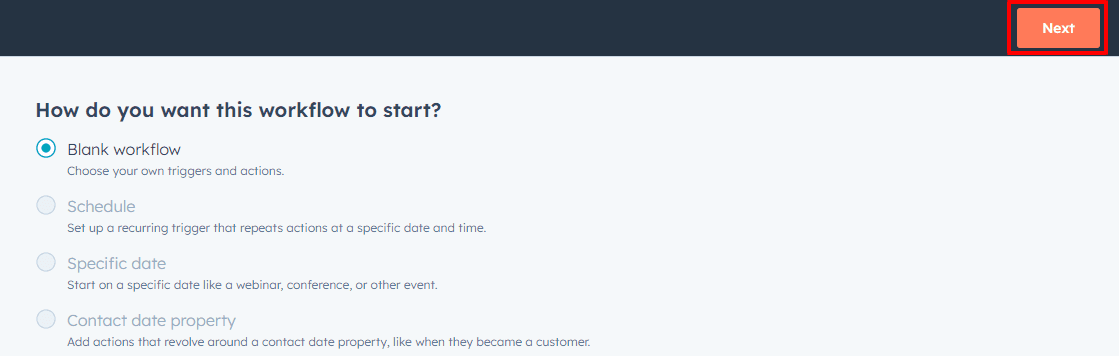
Create a blank workflow
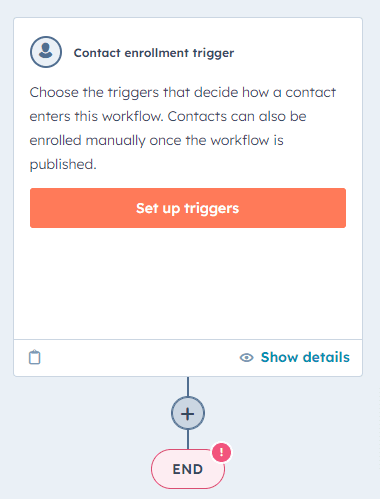
Set up your trigger
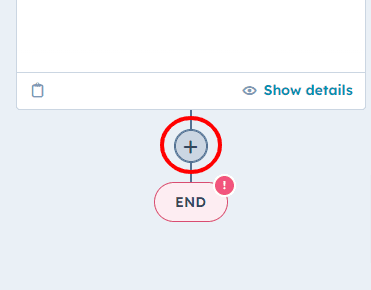
In the workflow editor, click the "+" icon to add a new action
In the actions menu, look for the "Integrations" or "Apps" section
Select "FlowLink" from the available actions

Basic Configuration
HTTP Method
Start by selecting Method
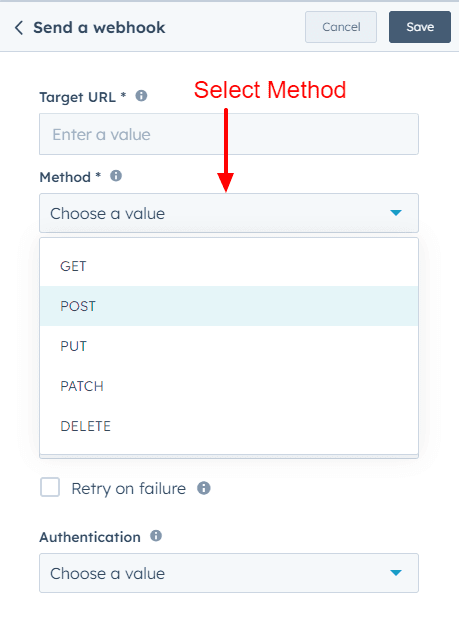
Choose from:
GET: Retrieve data
POST: Create new resource
PUT: Update existing resource
PATCH: Partially modify resource
DELETE: Remove resource
Target URL
Enter the full URL where you want to send the webhook request
Example:
https://api.example.com/endpoint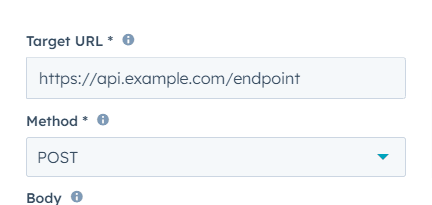
Authentication
Select from:
None: For public APIs
Basic: Enter username and password
Bearer: Provide a token
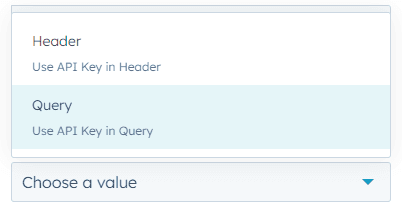
API Key: Can be included in header or query parameters
Examples:
Basic: Username:
myuser, Password:mypasswordBearer: Token:
abcdef123456API Key:
Key Name:x-api-key
Key:your-api-key-here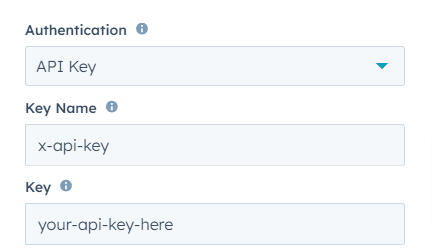
And indicate if the API Key should be used in the Header or Query
Advanced Settings
Body Configuration (Only for POST, PUT, PATCH)
Click on the "Body" field
Insert HubSpot properties using {{property.name}} syntax
Structure data in JSON format
Example:
Query Parameters (For GET, DELETE, POST, PUT and PATCH)
Click and Add key-value pairs
Use HubSpot properties or static values
'&' separated key-value pairs
Example:
customerId={{contact.id}}&orderDate={{deal.closedate}}will create the Resulting URL: https://api.example.com/orders?customerId=1234567&orderDate=2023-09-03
Custom Headers
Add any required custom headers
Useful for API versioning or additional authentication methods
Comma separated key-value pairs
Example:
X-API-Version=v2,x-custom-header=value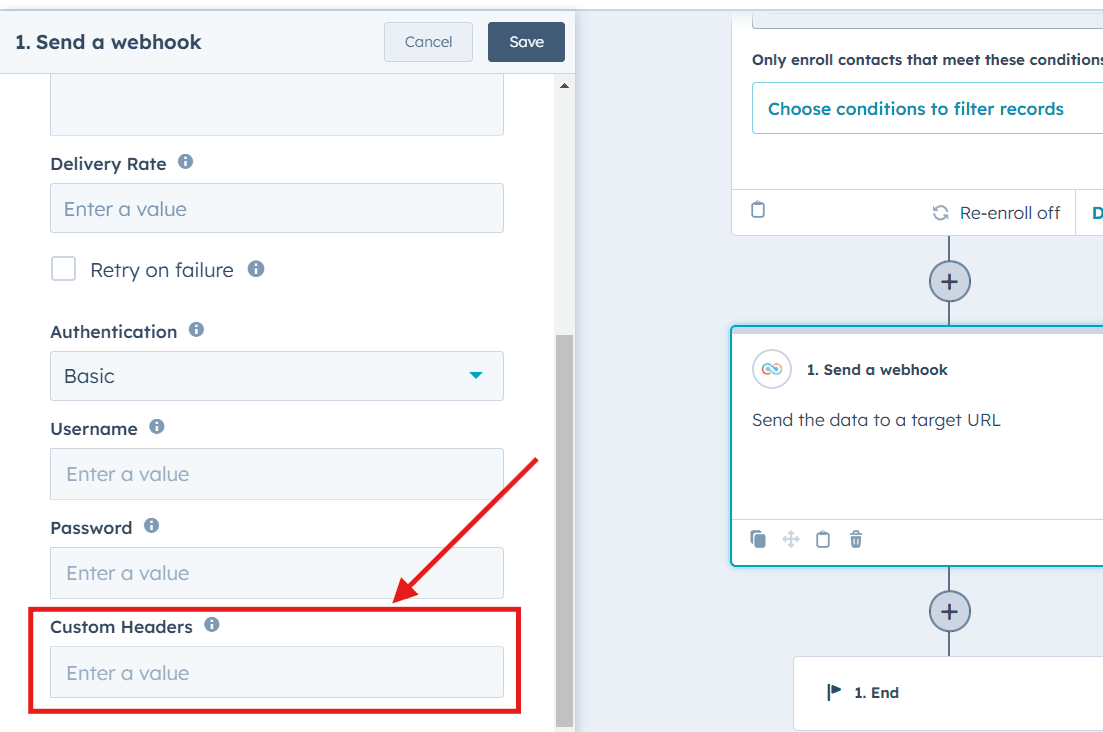
Escape values to be valid json
To escape a value, use 'escape' function like this:
{
"name": "escape({{ enrolled_object.dealname }})"
}
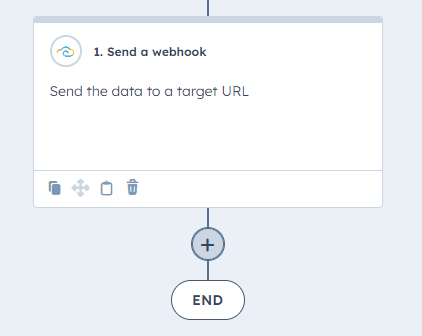
Save you configuration
Once finished with configuring the webhook remember to save

And your webhook it now ready to run whenever triggered
Got unique integration needs?
Our custom team can build tailored integrations, specialized data mappings, and workflow automations to perfectly match your specific business processes.